Grouping objects
Contents
Group by common selection
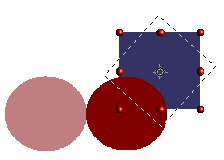
When several objects are selected, any operations you carry out are applied to all of the objects. For example, you can rotate a group of objects in its entirety. Groups obtained through common selection of several objects are undone as soon as you click outside the group. However, you can group objects and keep those selected objects grouped together.
Maintaining groups and undoing groups
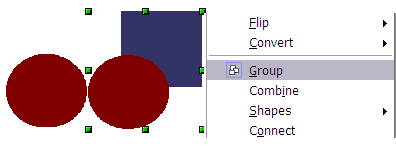
To group selected objects, right-click and choose Group from the pop-up menu. You can also use the keyboard shortcut Control+Shift+G or choose Modify > Group from the menu bar.
When objects are grouped, any editing operations carried out on that group are applied to all members of the group. If you click on one member of the group, the whole group is selected.
The objects of a group retain their own individual properties. To undo a group, right-click and choose Ungroup from the pop-up menu, use the keyboard shortcut Control+Alt+Shift+G or choose Modify > Ungroup from the menu bar.
Editing individual objects in a group
You can edit a member of a group individually without breaking the group. To do this, right-click and choose Enter group or double-click on the group.
Once inside the group, click on any object to edit it.
To leave this mode, right-click and choose Exit group or double-click outside the group.
Nesting groups
You can create “nested” groups, or groups of groups. In this case, OpenOffice.org keeps the initial group hierarchy. If you ungroup a group made of other groups, you are left with individual groups that you can then ungroup further, and so on until only single objects remain.
| Content on this page is licensed under the Creative Common Attribution 3.0 license (CC-BY). |


