Dialog page - Illumination
- Creating 3D objects
- Creating 3D bodies
- Producing 3D shapes
- Editing 3D objects
- 3D settings for 3D bodies
- Dialog page - Geometry
- Dialog page - Shading
- Dialog page - Illumination
- Dialog page - Textures
- Dialog page - Material
- 3D settings for 3D shapes
- Combining objects in 3D scenes
- Examples for your own experiments
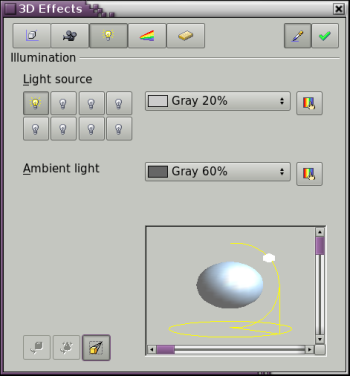
With the dialog page Illumination (see Figure 28) you define how a 3D object is lit. The settings apply to all objects in a scene.

Figure 28: Illumination (lighting) dialog
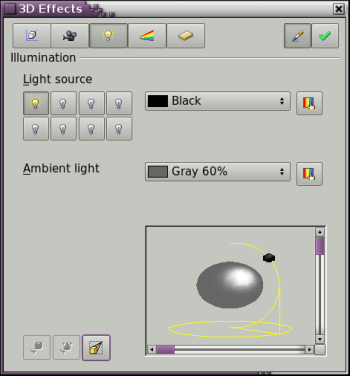
You can light a scene with a maximum of eight individual Light sources at the same time. For each of these sources the light color and position relative to the scene can be set. The light sources are shown in the form of eight small light bulbs. When you select this dialog page the first bulb “lights up” ![]() (1). This symbol functions like a press switch. With the first mouse click the bulb is selected and with the second click the settings mode for this light source is activated (see Figure 29).
(1). This symbol functions like a press switch. With the first mouse click the bulb is selected and with the second click the settings mode for this light source is activated (see Figure 29).
(1) There must always be at least one light source active, otherwise the rendering and shading functions cannot function correctly.

Figure 29: Adjustment of light source
In the selection list next to the symbols you can choose the color of the active light source. If desired, the button ![]() will give access to a color palette dialog, with which you can define your own color. This dialog also allows the brightness to be adjusted (in the underlying colors dialog). For the first light source it is best to retain the neutral color value (default is white), with several light sources it is advisable to reduce the brightness.
will give access to a color palette dialog, with which you can define your own color. This dialog also allows the brightness to be adjusted (in the underlying colors dialog). For the first light source it is best to retain the neutral color value (default is white), with several light sources it is advisable to reduce the brightness.
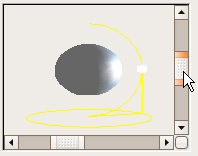
In the lower right corner of the menu the light source location and orientation is depicted. With the vertical slider bar you can adjust the lighting angle; with the horizontal bar the light is rotated about the object. Alternatively you can click on the lightpoint with the mouse and drag the point as you please (see Figure 30). With a click on the small square in the bottom right the preview image can be changed from a sphere to a cube.

Figure 30: Moving the light source
To apply the changed settings to the selected object, click on the the Assign button ![]() .
.
The use of additional light sources can result in some interesting effects.

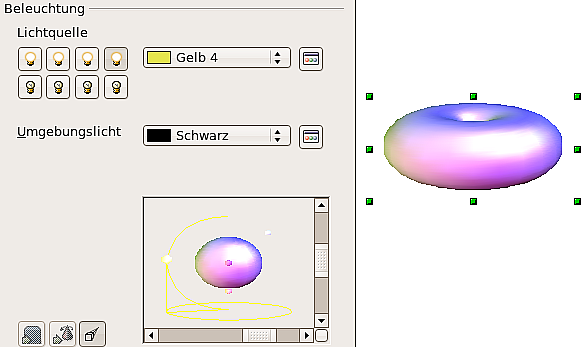
Figure 31: Lighting with three independent light sources
In Figure 31 the ring has the lighting settings from Figure 30 with the standard color white. In addition it was lit with the color magenta and from the left underside also with yellow. The number and position of the light sources is shown in the window at the lower right. The light sources in use can be recognized by the “lit” symbol ![]() .
.
To see the effect of a particular lighting effect you can also temporarily turn it off. With an object selected, clicking on a “lit” symbol will “turn it off” ![]() . This new setting must then be applied (assigned) to the scene. With a further mouse click on the light source the effect can be switched back on and then re-assigned to the scene.
. This new setting must then be applied (assigned) to the scene. With a further mouse click on the light source the effect can be switched back on and then re-assigned to the scene.
You can also change the settings for the Ambient lighting. The selection of properties (lighting color, brightness etc.) is carried out in same way as for light sources.
| Content on this page is licensed under the Creative Common Attribution 3.0 license (CC-BY). |