Working with text in Draw
Contents
Ways to use text in Draw
You can use text in Draw in various ways:
- as a text element
- as text associated with a picture
- as an element out of the Fontwork gallery
- as a Writer OLE object
Configuring text elements with style templates
Text, like all drawing objects, can be associated with styles. The text settings in styles always affect the whole text element. You can format individual parts of a text element, but only by using manual formatting, which does not relate at all to styles and templates. Styles for characters and paragraphs do not exist in Draw.
Open the Styles and Formatting dialog by pressing F11. Access the formatting dialogs using the toolbar icons, the context menu, or the Format menu.
The Indents and Spacing, Text, Text effects, Tabs and Alignment tabs of the style dialog function the same as in text documents, although some options are not available in Draw. Specific to drawing objects are the tabs Text and Text Animation.
Text animation
On the Text Animation tab, you can set how the text moves within the object frame. Such effects are however only interesting for documents which are to be shown on the screen. They are more commonly used in the Impress module. For printed text they do not make any real sense and are not dealt with further in this guide.
Text
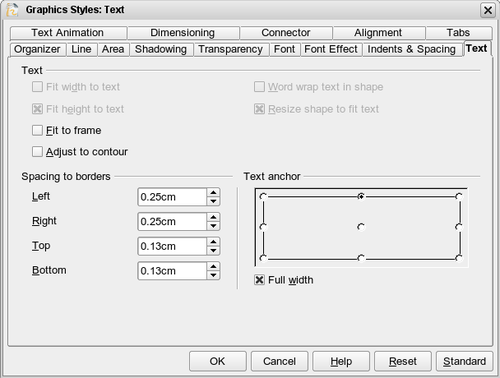
On the Text tab, you can determine the behavior of the text block in relation to the border of the drawing object. The same settings can be altered—as manual formatting—under the Text... command in the Format menu or in the context menu.
The type of drawing object determines which settings are active and what effect they have on the text. Shapes behave differently to other drawing objects. If you want to experiment a little with the settings you will find it better to use objects with rounded edges – differences in spacing and alignment will be more clearly seen.
Anchoring text
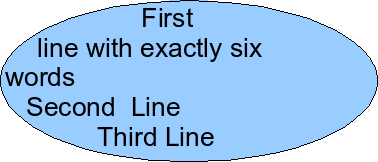
To try out the different settings possible for text anchors, start by drawing an ellipse from the Basic Shapes toolbar ![]() , change into Text edit mode by double-clicking on the ellipse and write several, not too long lines of text.
, change into Text edit mode by double-clicking on the ellipse and write several, not too long lines of text.
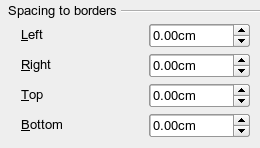
In the Text tab of the Edit Style dialog set the values of the Spacing to Borders to 0 cm for all four directions.
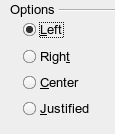
Set Options as Left in the tab Alignment.
Now we can try out some of the different possibilities of text anchoring.
| Shapes | Classical drawing objects | |
|
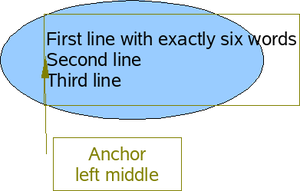
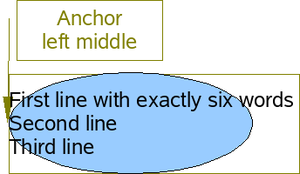
Text anchored to left middle – the text block is placed on the left side and centered vertically. |
“Left edge” here means the edge of the text frame whose left side fits totally within the figure. |
“Left edge” here means the left side of the object frame – the frame with the green handles which is visible when you click on the object. |
|
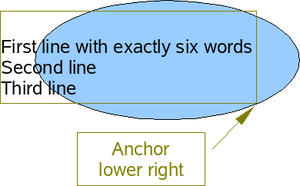
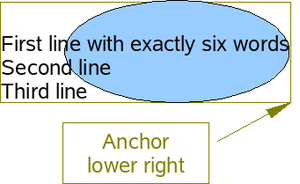
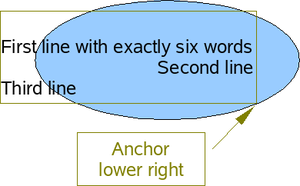
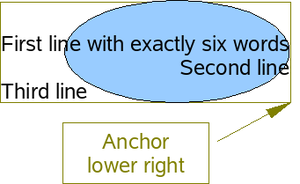
Text anchor to lower right. |
The lower right corner of the text block sits against the edge of the figure. |
The lower right corner of the text block lies in the lower right corner of the (invisible) object frame. |
| The text anchoring always relates to the entire block, even when single lines are set differently to the other text through manual' formatting. |
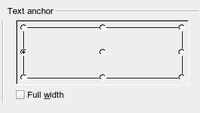
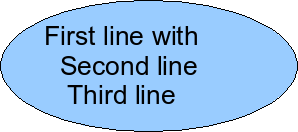
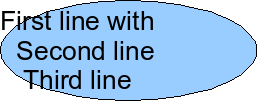
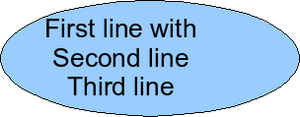
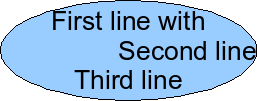
If you checked the option Full width, the text block will always be centered horizontally. The area of the text block will be the greatest possible – here it will extend either to the edge of the figure or object frame or (when not that wide) the width that is necessary to fit the length of the longest line. The difference becomes clear if you position the text on the left, but you set single lines through hard formatting to be aligned on the right. (Note: in the examples below, the first line of text was shortened to “First line with”, spacings were set to 0 and text anchor to middle left.)
| Shapes | Classical drawing objects | |
| Without option “Full width” | ||
| With option “Full width” |
Fitting text in frames
Here you find that shapes and classic draw objects behave completely differently.
For shapes the options on the right are active.
These have the following effects.
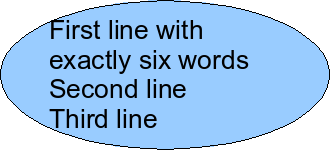
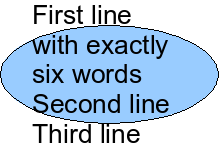
| Word wrap text in shape: | No automatic hyphenation is available and you cannot insert a fixed hyphen.
If the text does not fit in the shape it hangs over or under the outside of the shape. |
| Resize shape to fit text: | Watch out! If you turn on this option it is not possible to undo the size changes – neither using the Undo function on the menu nor by switching off the option in the dialog. |
For the classic drawing objects, both lower left options in the dialog are active.
These have the following effects.
| Fit to frame: | The text is widened and compressed so that it fills out to the object frames. |
| Adjust to contour: | All the text is contained within the figure. It is split over several lines if necessary. Any text which does not fit in the figure is not shown, but is still retained.
Note that even if you have activated hyphenation, words will be split without regard to the hyphenation rules. |
Distance from frame
The spacing settings are added to the text. In this way the text block will be invisibly reduced or (with negative values) effectively made bigger.
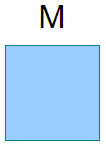
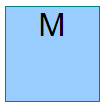
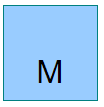
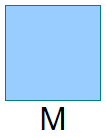
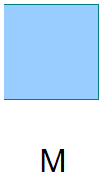
In the examples below, the text is centered and the text block is anchored in the upper middle part of the frame.
| Value for spacing “Above” | -2 cm | -1 cm | 0 cm | 1 cm | 2 cm | 3 cm |
| The behavior is the same for classic drawing objects and shapes. | 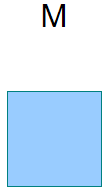
|
|
|
|
|
|
If you anchor the text above, below, right or left, a positive spacing value positions the text in such a way that it sits close to the outside of the object frame at the anchoring point. Anchoring in the middle does not result in this movement.
To add text to a straight line, it is useful to produce the line as a very thin rectangle. To avoid the problem above, choose the anchor point in the middle of the rectangle. You can then determine the exact position of the text by setting the spacing accordingly.
Text added to the open line types Bézier curve (curves and freehand lines), Polylines (polygon and polygon 45°), and Arcs is also positioned in relation to the enclosing object frame. If you want to see the extent of this frame, just click on the object. To add text along one of these lines, you can use the FontWork tool described later in this chapter.
Text added as described above is rotated when the object is rotated. The property settings, particularly those in relation to spacing to the frame, relate always to the situation where the object is not rotated.
| Content on this page is licensed under the Creative Common Attribution 3.0 license (CC-BY). |
